

Layer Cage Spare Parts Checklist: What to Order First
Two layer farms can purchase the same cage model, but their experience is still very different when the motor, belt, or water dispenser malfunctions. A farm can replace parts from inventory and restart production lines. The other sends a photo and waits for the supplier to identify the parts, only to discover differences in voltage or belt width.
The difference is usually not the size of the spare parts box. It is whether the farm recorded the equipment details and built a parts list before the first failure.
This guide is for commercial layer farms, equipment importers and project buyers preparing a new cage or automation order. It explains which layer cage spare parts to discuss with the supplier, what to record, and how to send one request the supplier can answer without guessing.
This is not a universal stock list. The quantity depends on the rows, tiers, line length, running time, local services, and the cost of a stop. The final part number, quantity, replacement interval, and compatibility must be confirmed based on the equipment manual and the supplier's written quotation.
1. Identify the equipment before naming the part
"A-type cage", "H-type cage" or "automatic feeding line" is not enough to order a spare. The same cage family can be supplied in different tier counts, row lengths, drive arrangements, voltages and controller versions.
Record these details for each system:
| What to record | Why it matters |
|---|---|
| Cage model, version and manufacturer | Narrows the parts list to the correct generation |
| Tier count, row count and row length | Changes belt length, drive count and quantity per house |
| Feeding line type and drive position | Identifies chain, auger, trough and hanger parts |
| Drinking line layout and regulator position | Identifies nipple, cup, filter and valve parts |
| Egg collection and elevator model | Identifies belts, rollers, guides and transfer parts |
| Manure removal and discharge arrangement | Identifies belt, scraper, roller and tensioner parts |
| Fan, cooling pad and controller models | Identifies belts, bearings, sensors and electrical parts |
| Motor nameplate and controller version | Prevents a voltage, speed or board mismatch |
| Serial number or equipment tag | Lets the supplier trace the original build |
Use the equipment manual, parts list and exploded drawing supplied with the project. If they were not handed over, ask for them before the first order. The installation handover checklist shows what should be collected. Do not rely on an old invoice alone; suppliers can change a pulley, belt, sensor or board without changing the outside appearance of the cage.
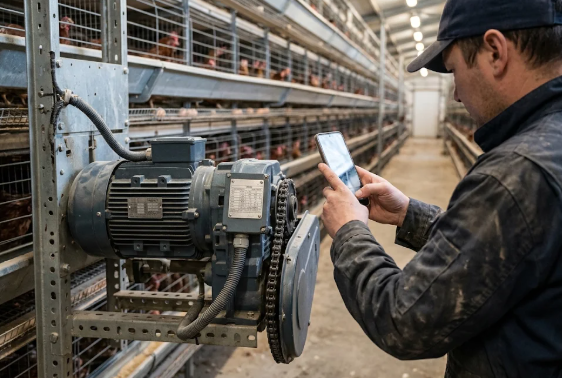
2. Sort the list into three groups
Wear parts. Belts, scrapers, nipples, seals, hoses, feed trough edges, bearings and drive belts. Record the part number, quantity per row or machine, and inspection point. Do not copy a replacement interval from another farm; life depends on load, water quality, manure condition, cleaning method, alignment and running hours.
Critical uptime spares. These are the parts whose failure stops a line or leaves a house without a critical function. The list is site-specific. A farm with two independent feeding lines may treat one drive motor as less critical than a farm with a single line. Alabama Cooperative Extension recommends keeping at least one motor already wired and with a pulley installed for a quick fan-motor swap. The same logic applies to other critical drives: a spare is more useful when it is ready to install.
Optional and consumable items. Filters, lubricants, cleaning items, fasteners, cable glands and labels. Keep them on a separate line so they do not change the scope of the main parts request.
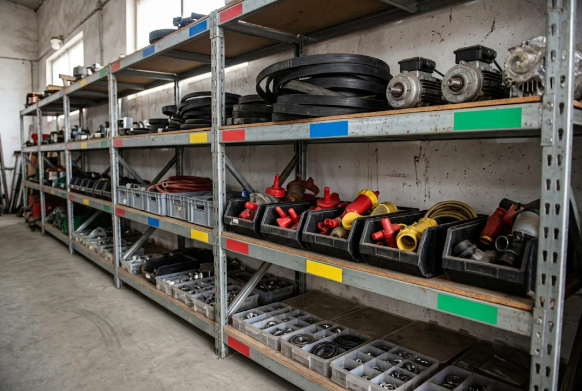
3. Build the list by system
The table is a prompt for the discussion, not a fixed bill of materials. Replace each prompt with the real part number and quantity from the manual.
| System | Parts to ask about | What to record |
|---|---|---|
| Automatic feeding | Drive motor and gearbox, chain or auger, trough sections, hangers, level sensor, limit switch | Line type, chain pitch or auger diameter, trough length, voltage, sensor type |
| Drinking line | Nipples, cups, pressure regulator, filter, valves, tubing, end flush point | Nipple thread and mounting, regulator model, filter size, line length |
| Egg collection | Egg belts, rollers, elevator belt or chain, guides, transfer switches | Belt width, thickness, length and joint type; roller diameter; elevator model |
| Manure removal | Manure belts, head scraper, tensioner, rollers, bearings | Belt width, thickness, length and joint type; scraper type; roller size |
| Environmental control | Fan belts, bearings, fan motors, controller sensors, alarm, contactors | Fan model, pulley size, voltage and frequency, controller version |
| Cage structure | Cage clips, bolts, door springs, feed trough edges, egg tray guides | Cage model, clip type, wire or sheet thickness if known, coating |
| Egg handling and packing | Tray chain, suction cups, sensors, transfer belts, guides | Machine model, cup size, belt size, sensor type |
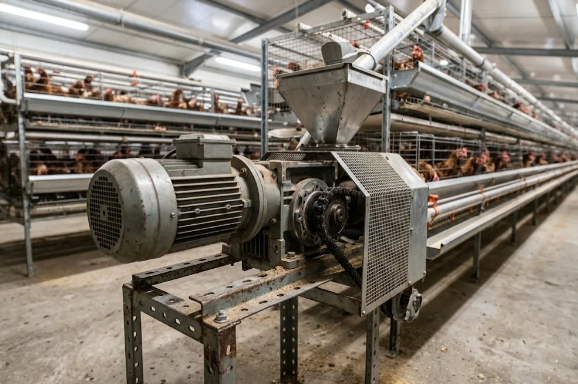
4. Record the minimum data for every line
For each item, record:
- Part name and function, using the name in the manual.
- Part number, including any prefix or revision code.
- Parent equipment and position: row, tier, drive or transfer point.
- Quantity per machine, then multiply by the number of machines or rows.
- Dimensions or connection: belt width and thickness, roller diameter, nipple thread, hose size, pulley bore.
- Electrical data: voltage, frequency, phase, power, speed and frame where applicable.
- One wide photo of the location and one close photo with a ruler.
- Old-part evidence: photo, any stamped number, and the date it was removed.
- Status: "confirmed from manual", "measured on site" or "to be confirmed".
The status column prevents a measured guess from being treated as a confirmed part number. The supplier can quote the confirmed lines and ask a specific question about the rest.
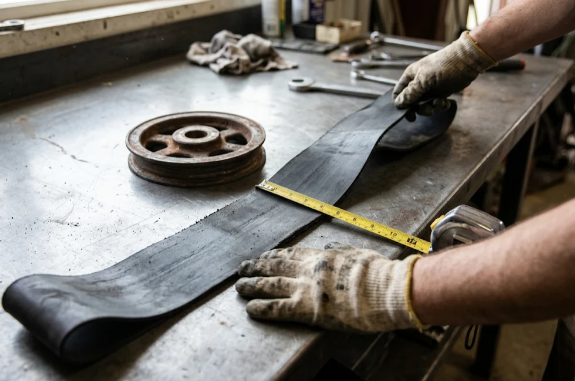
5. Use one RFQ table
Do not send twenty separate photos and ask for "spare parts prices". Build one table and send it with the equipment list. The two rows below are examples only, not recommended specifications.
| Item | System | Part name | Manual part no. | Qty per machine | Total qty | Photo ref. | Measured size | Voltage or thread | Required by | Status |
|---|---|---|---|---|---|---|---|---|---|---|
| 1 | Feeding | Drive motor | 1 | 2 | P-01, P-02 | 380 V, 50 Hz, 3 phase | Before installation | Measured | ||
| 2 | Egg collection | Egg belt | 1 per tier | 8 | P-03 | 260 mm × 2.0 mm × 42 m | Before installation | To confirm joint |
Please ask the supplier to reply in the same form and add four columns: confirmed part number, confirmed quantity, availability and delivery cycle, as well as any drawings, photos or measurements still needed.
Identify each part by part number and description, not by description alone. Chore-Time's repair parts manual states the same rule for its own equipment. The reply becomes the basis for the purchase order and the receiving check, and it shows where a substitution has been proposed.
6. Receive, label and store
- Match the packing list to the purchase order, line by line.
- Check the part number, quantity, dimensions and electrical rating.
- Photograph the label and the part before storage.
- Label the location by system and machine, not only by part name.
- Keep the relevant manual page with the part.
- Record the date received and the machine it was bought for.
- Keep critical motors and drives in a ready-to-install condition where the supplier allows it.
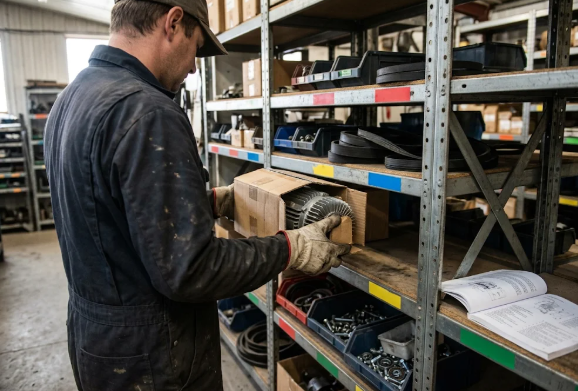
Avoid mixing parts from different cage generations in one unlabeled box. Two parts can look similar and still have a different bore, length, pitch or voltage. The warranty and after-sales guide is a useful place to record which parts and services the supplier covers.
7. What not to guess
- Cross-brand compatibility. "Same size" does not prove the same load rating, pitch, shaft or connector.
- Replacement interval. A calendar interval copied from another farm can cause unnecessary replacement or an avoidable failure.
- Electrical suitability. Voltage, frequency, phase and starting current must match the site supply.
- Controller compatibility. A sensor or board may fit physically but require a different configuration.
- Warranty effect. Ask whether a non-original part affects the warranty before you approve a substitution.
- Local service. Confirm who will install, commission and test the part.
The supplier should confirm the part number in writing. If it cannot, ask for the drawing or manual page that identifies the part. A clear "not confirmed" is safer than a part number that looks plausible.
8. Next step: send one equipment-and-parts pack
Starting with systems that would shut down the house if they failed: feeding, drinking water, collecting eggs, and manure removal. For enclosed houses, add environmental control and backup power supply.
Send the supplier one pack containing:
- Equipment list with model, version and serial or tag number
- House layout with row count, tier count and line length
- Nameplate photos for motors and controllers
- Manual parts-list pages or exploded drawings
- The RFQ table with confirmed and unconfirmed lines separated
- Required delivery date and destination
Ask for a written parts quotation with part numbers, quantities, lead times and any remaining questions. Use the same project brief you would use for an equipment quotation, so parts and equipment are checked against one configuration. You can send the pack through the contact page.
Want to know more?
Get in touch with us for more information about our services and products.